
Not every router gets a public IP. In many deployments (a campus behind a firewall, a venue on a managed corporate network, an ISP site behind NAT) your NAS devices live on a private LAN that the outside world simply can’t reach. Until now, that meant Powerlynx couldn’t reach them either.
IPSec VPN changes that. Set up an encrypted tunnel between your router and Powerlynx, and the platform can reach your NAS devices on their private IPs – for RADIUS authentication, session management, and CoA/PoD commands, exactly as it would if they had a public address.
Key Takeaways:
- IPSec VPN lets you connect hotspots whose NAS devices sit on a private LAN to Powerlynx over an encrypted tunnel.
- Two connection modes: remote access (roadwarrior, IKEv2) and site-to-site, chosen once at creation and cannot be changed.
- Multiple hotspots can share a single VPN connection, reducing setup overhead for operators with dense private networks.
What problem does IPSec VPN solve?
Cloud-based hotspot management requires the platform to communicate with your NAS devices in both directions – RADIUS authentication inbound and CoA/PoD session control outbound. That works cleanly when your NAS has a public IP. It doesn’t work when your router sits behind a private LAN or NAT, because Powerlynx has no path to reach it.
IPSec VPN closes that gap. Once the tunnel is established, NAS devices use 10.11.0.2 as their RADIUS server IP, and Powerlynx accesses them on their private addresses (for example, 192.168.88.5) through the encrypted tunnel. The tunnel carries a route for the entire 10.11.0.0/16 overlay, so any NAS behind the tunnel can reach Powerlynx services.
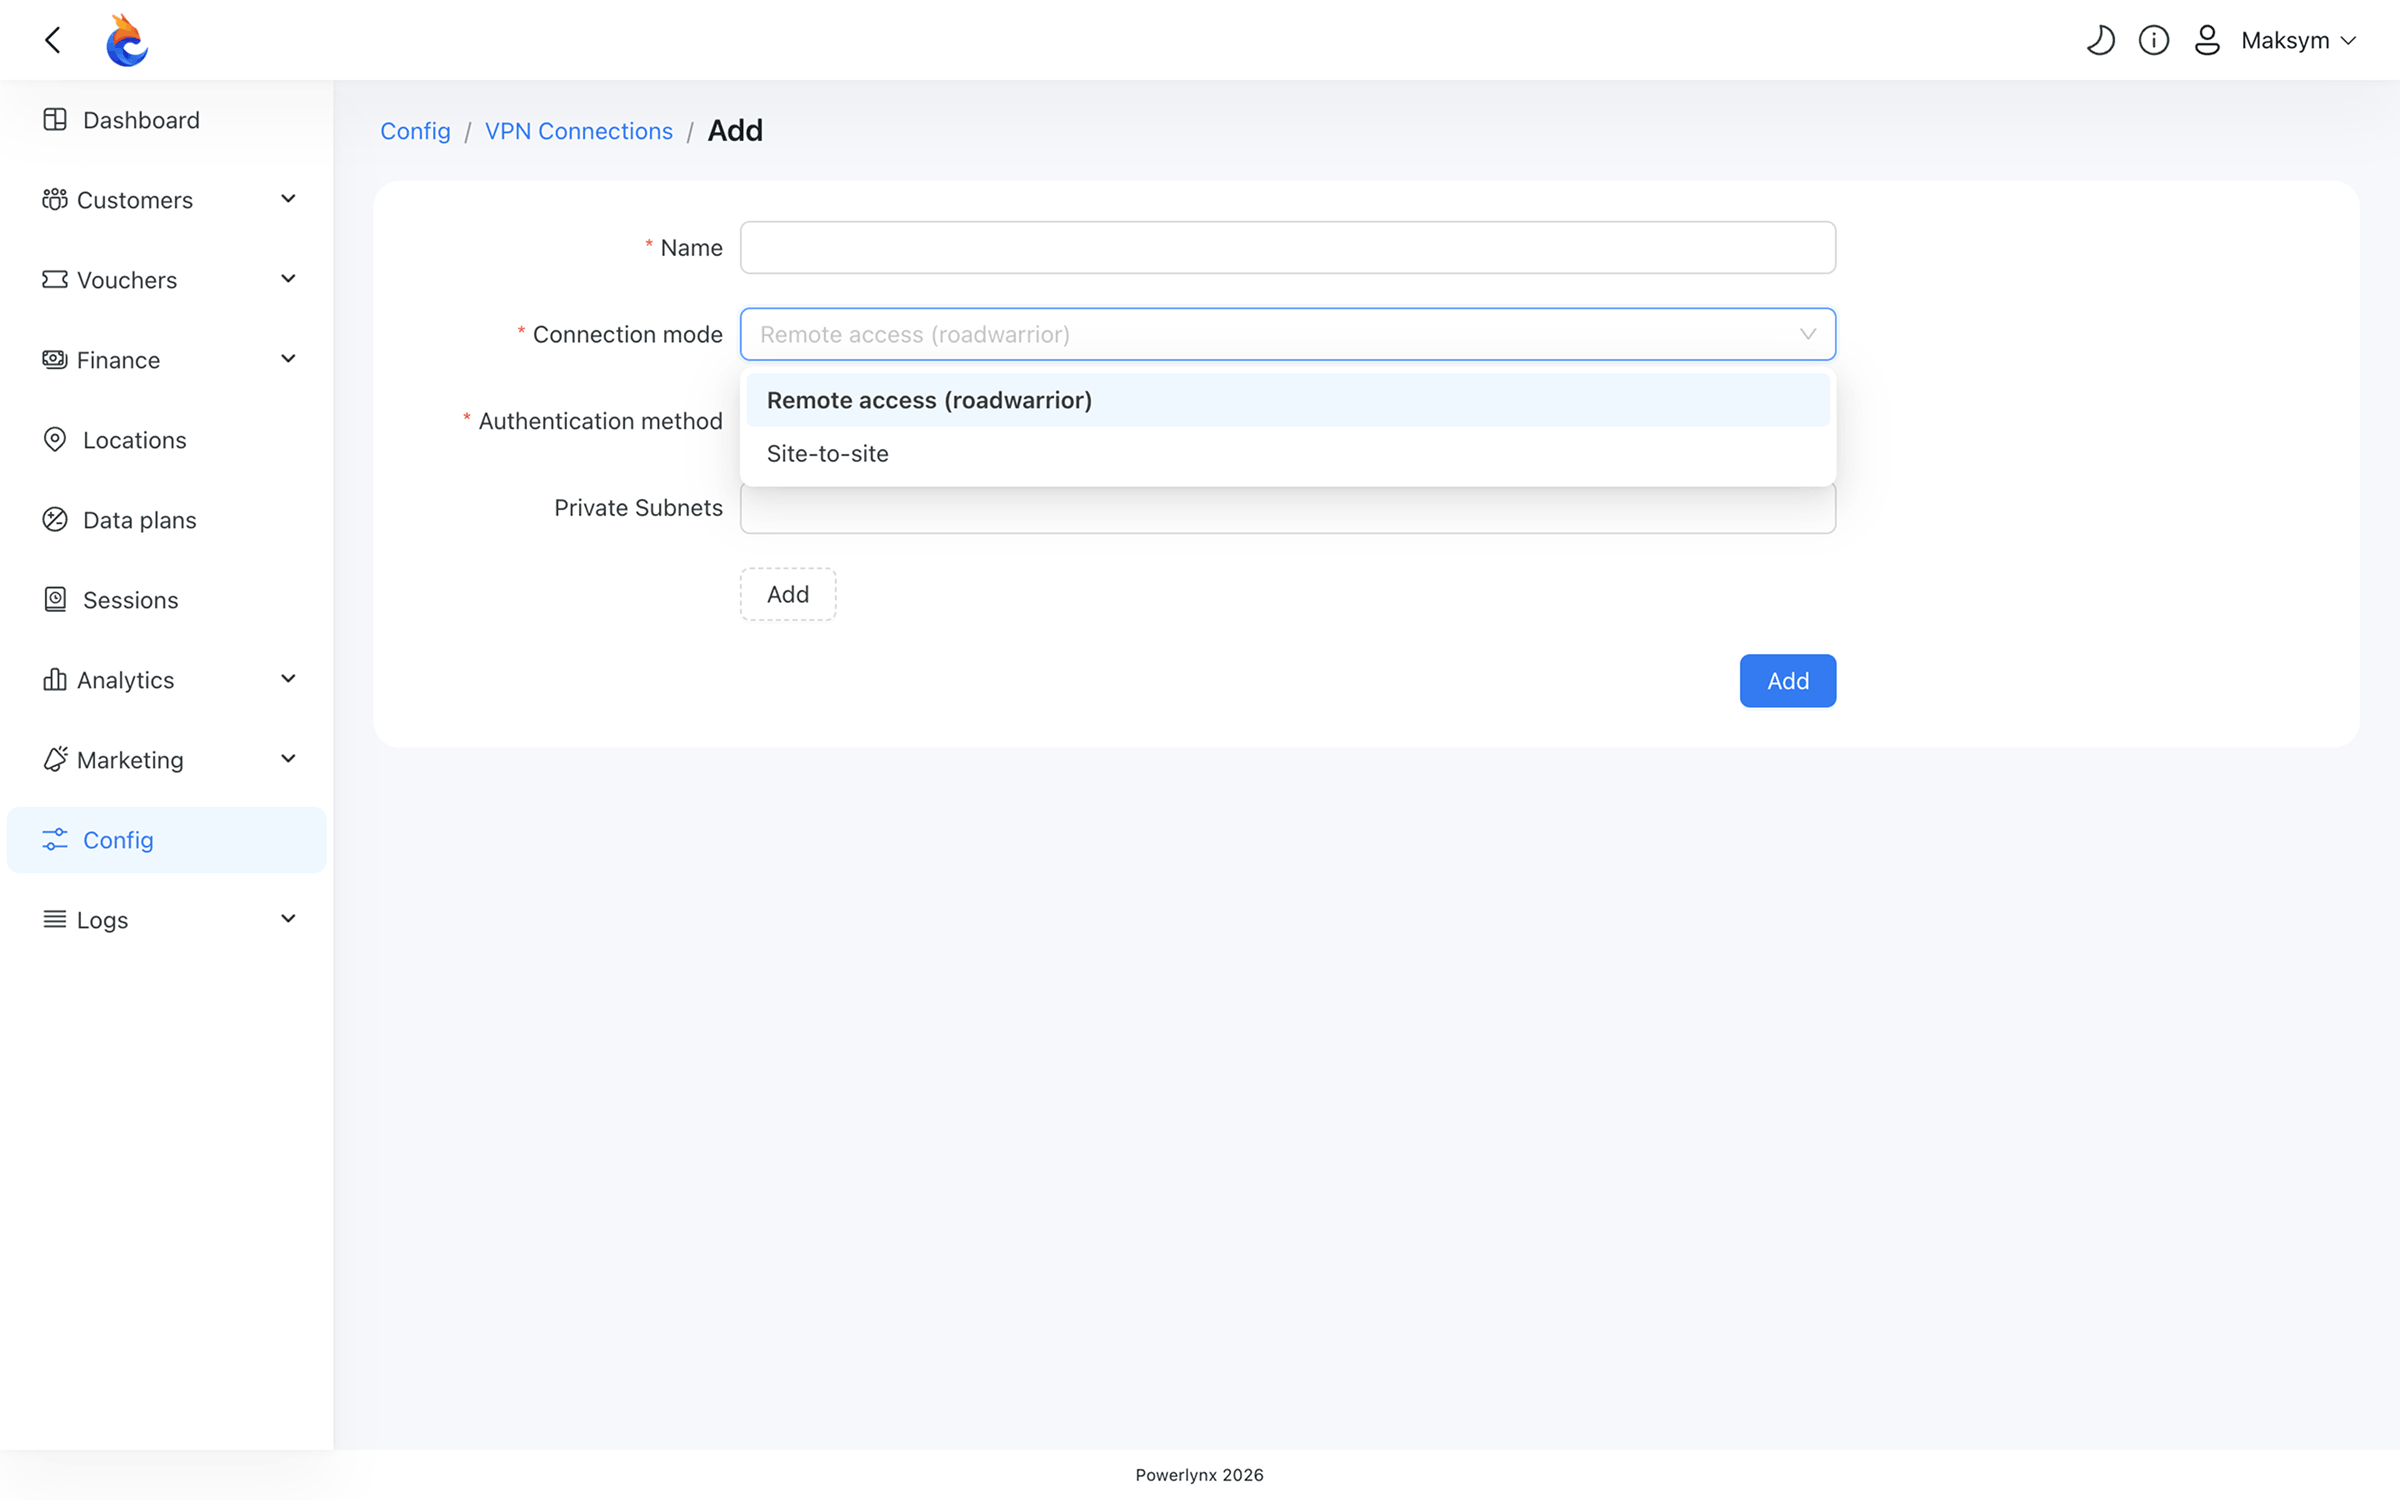
Two connection modes
Choose your mode when creating the VPN connection. This setting is locked after creation, changing it requires deleting and recreating the connection.
- Remote access (roadwarrior) – The device requests a virtual IP via IKEv2. One peer equals one device. This is the default mode for most routers: MikroTik, strongSwan, and FortiGate all use this path.
- Site-to-site – The router negotiates fixed networks without requesting a virtual IP. Required for enterprise gateways such as Nokia 7750-SR.
Two authentication methods
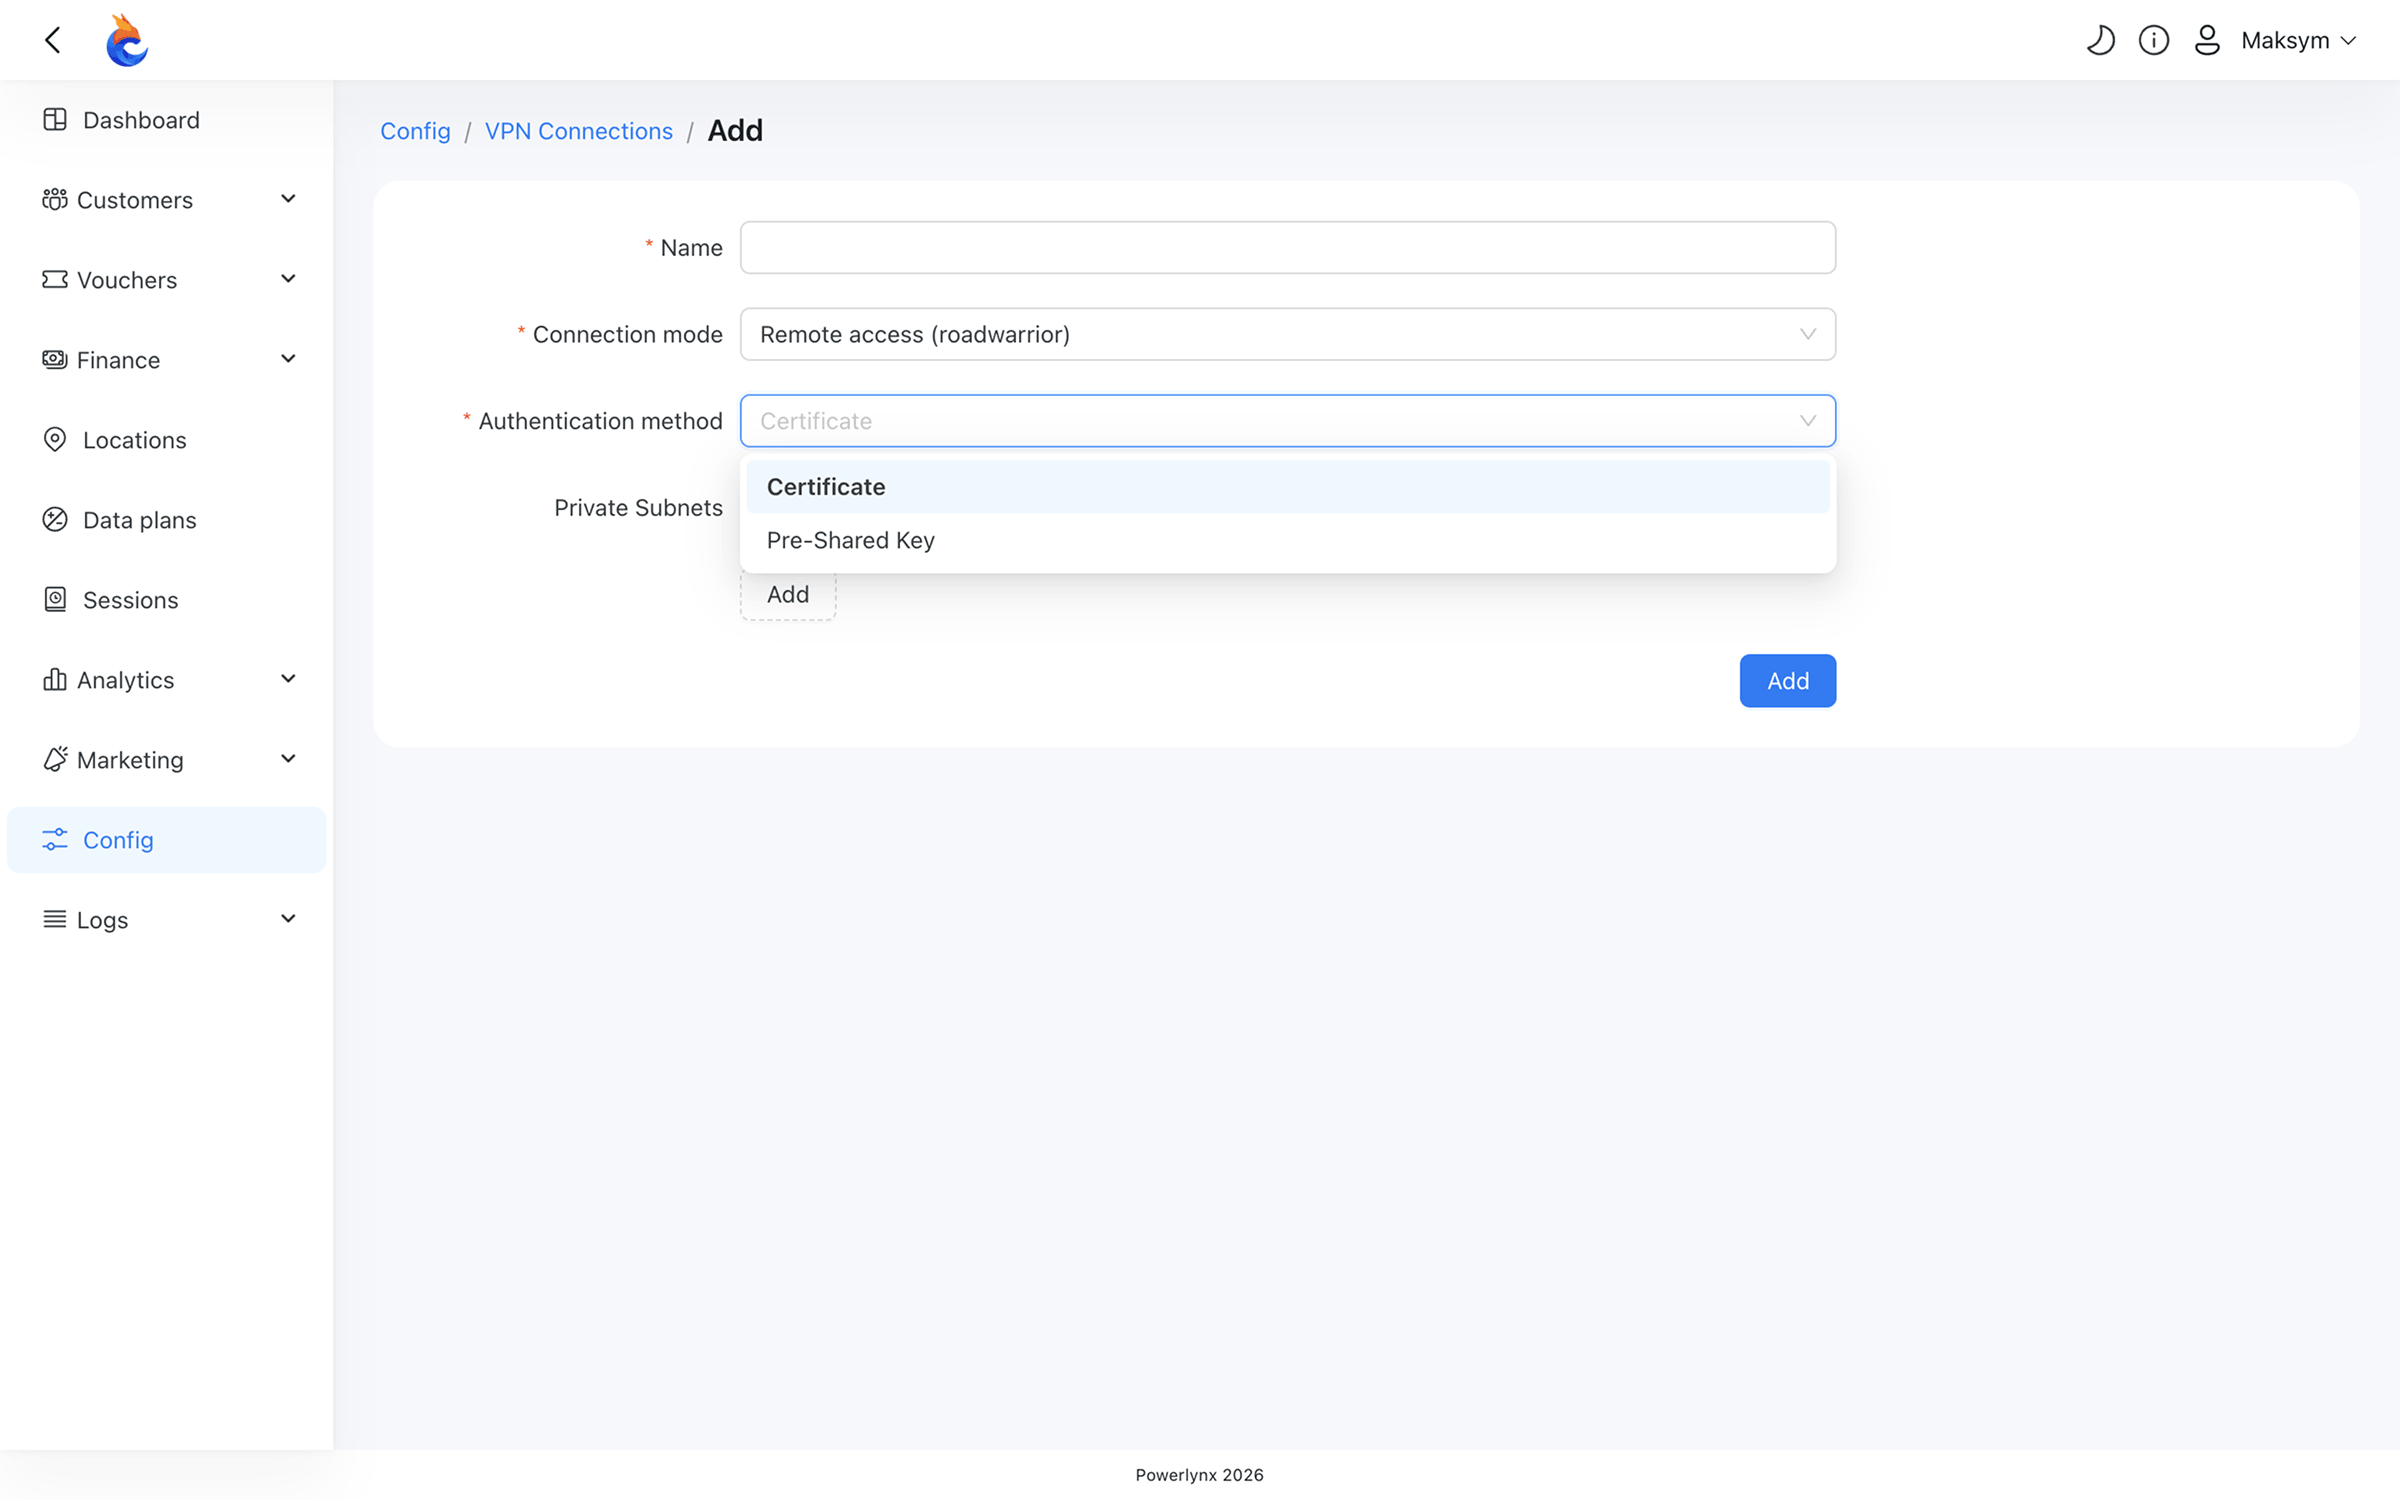
Authentication method is also set at creation and cannot be changed afterwards.
- Certificate – Powerlynx issues device-specific certificates signed by an internal certificate authority. Revocation is straightforward if a device is replaced or decommissioned.
- Pre-Shared Key (PSK) – A strong key is generated and embedded in the configuration file at download time. The PSK is shown only once, at the moment of download – store it securely.
Multiple hotspots, one tunnel
You don’t need a separate VPN connection for every hotspot on your private network. When attaching a hotspot to a VPN, Powerlynx offers two paths:
- IPSec VPN – a dedicated tunnel for that hotspot.
- Existing VPN – attach the hotspot to a tunnel that’s already set up, sharing it with other NAS devices behind the same gateway.
This matters for operators managing clusters of devices behind a single router – one tunnel handles the whole site rather than multiplying connections per device.
What it means for your deployments
IPSec VPN removes the requirement for a public IP on every NAS device you manage through Powerlynx. That opens the platform to:
- Venues and campuses where the entire network sits behind a firewall and individual APs or routers have only private addresses.
- Enterprise deployments with managed gateways that operate in site-to-site mode.
- Multi-router sites where a single VPN tunnel covers all NAS devices behind the same gateway – no per-device tunnels needed.
- Private ISP infrastructure where exposing NAS devices on a public IP is not possible or not desirable.
How to set up IPSec VPN in Powerlynx
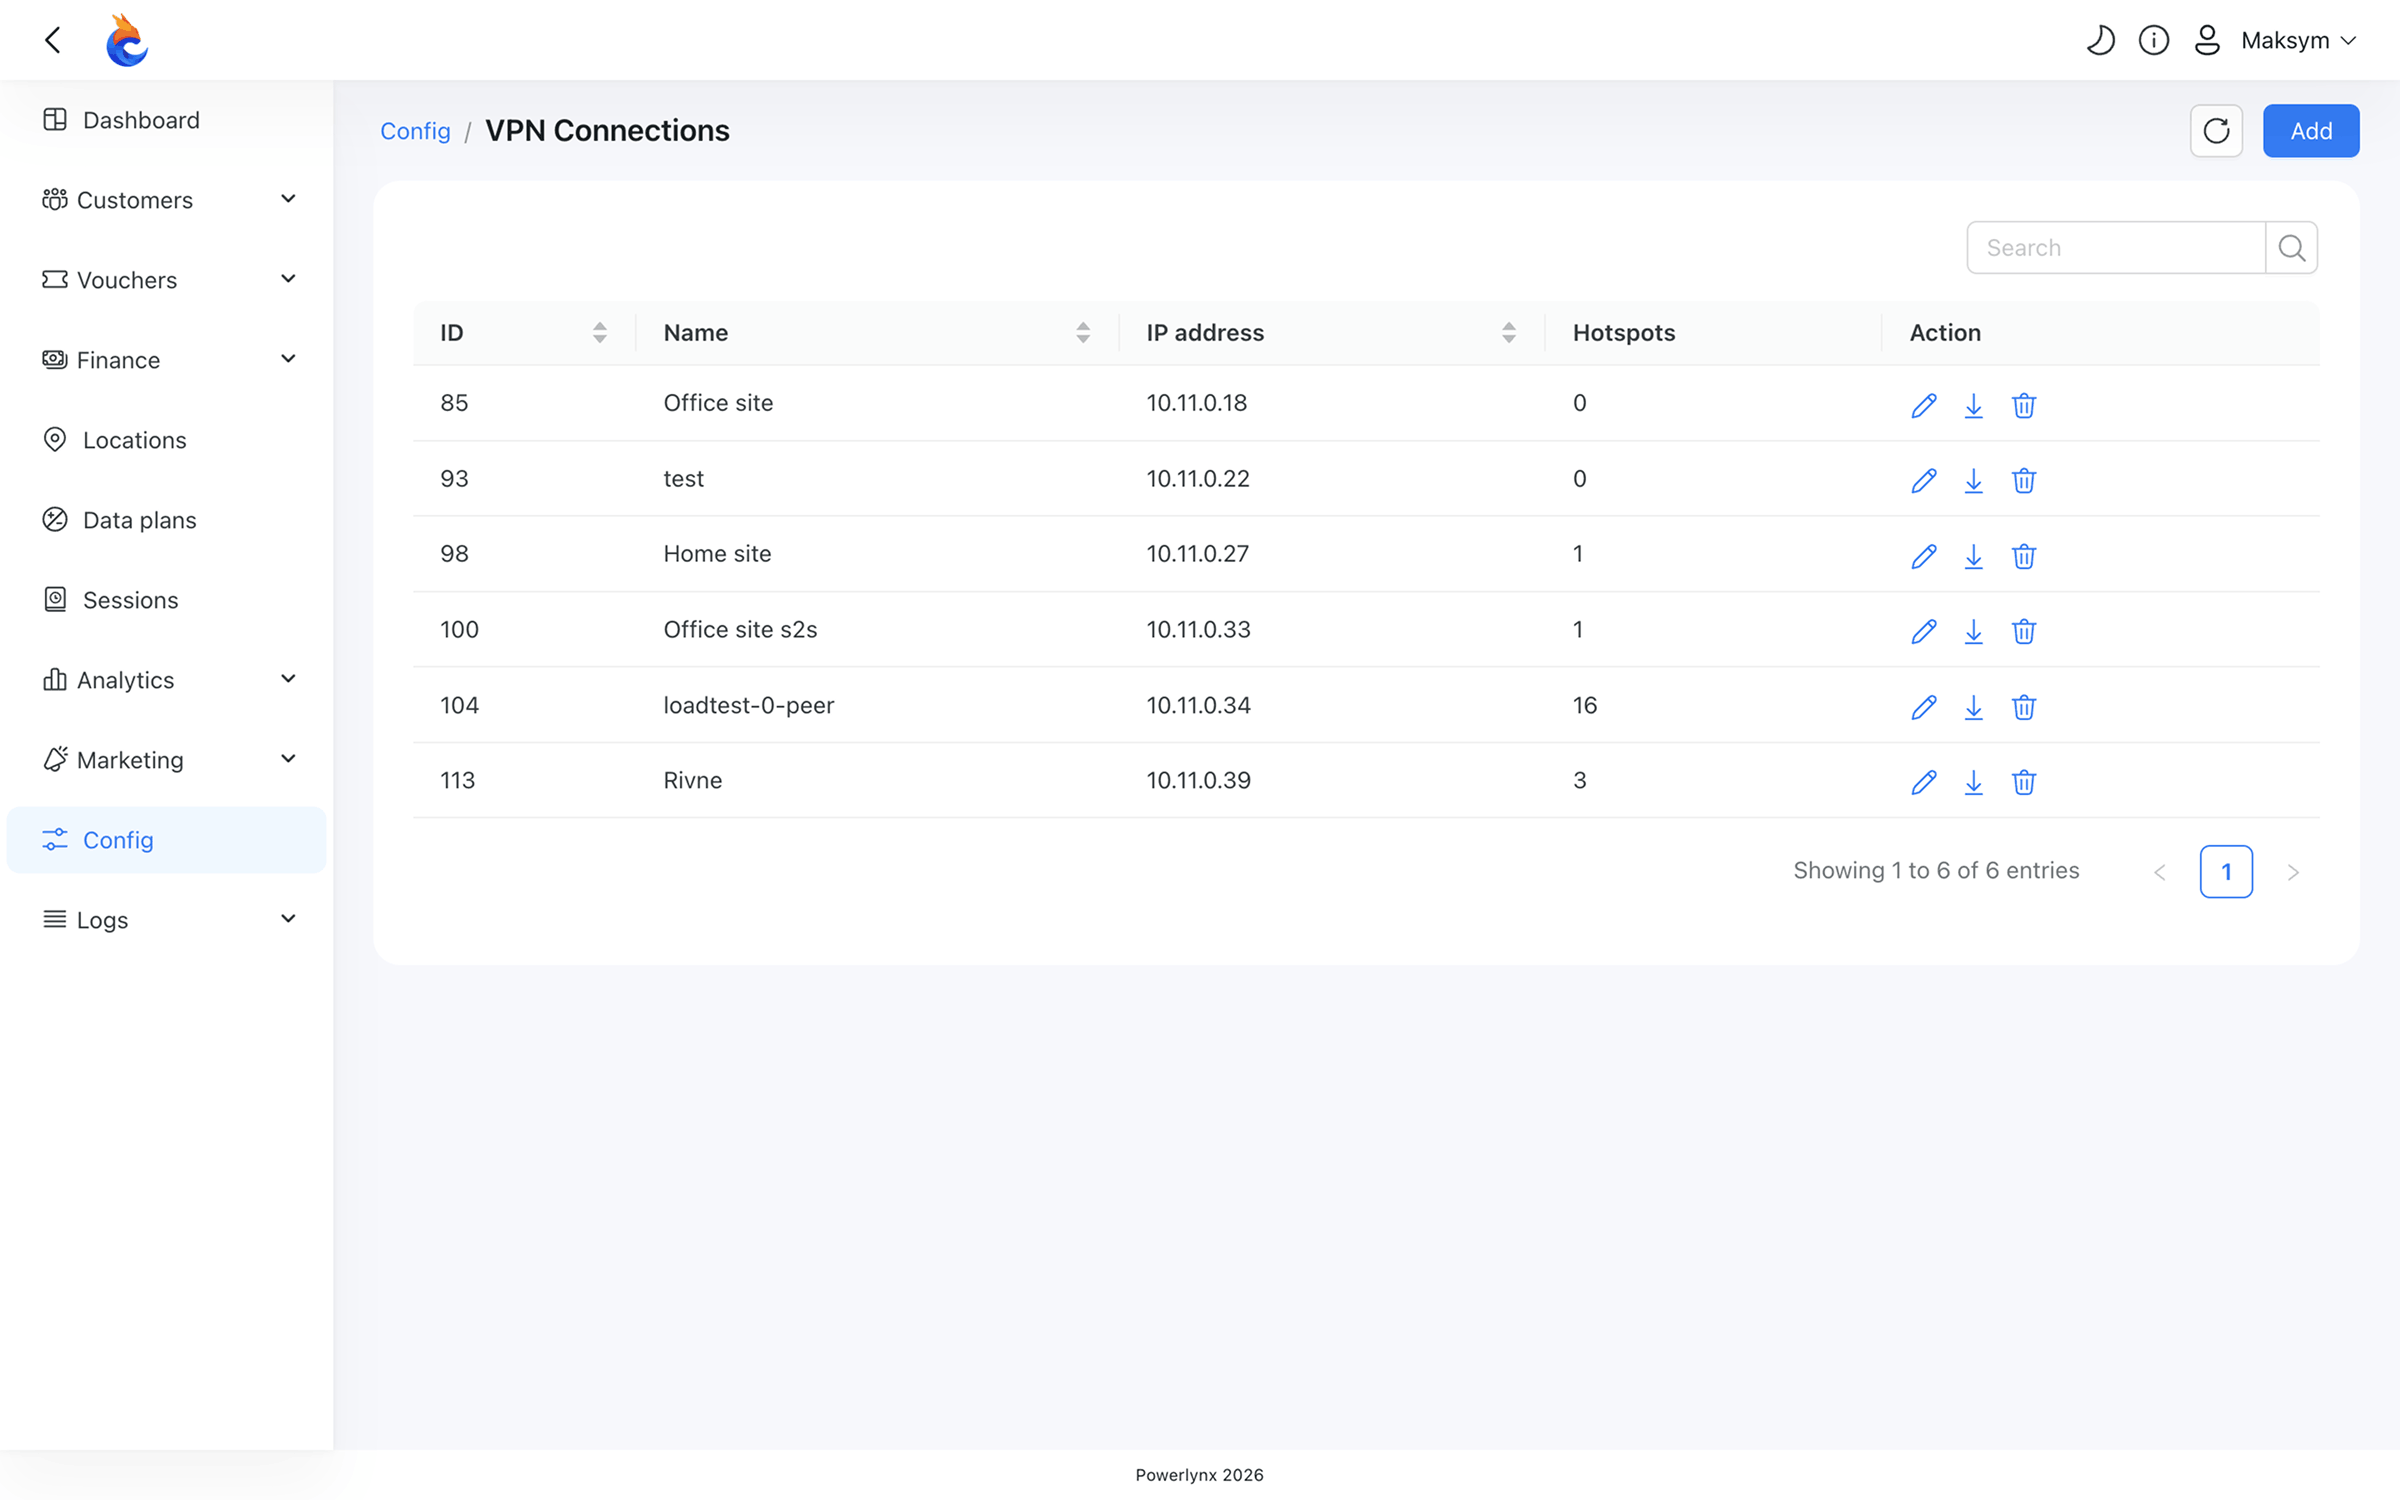
- Create a new VPN connection – set a name, choose connection mode (remote access or site-to-site), choose authentication method (certificate or PSK), and add your private subnets.
- Download the configuration archive – it contains the configuration file plus certificates or PSK depending on your chosen method.
- Install the configuration on your router or gateway. Make sure UDP ports 500 and 4500 are accessible from the internet.
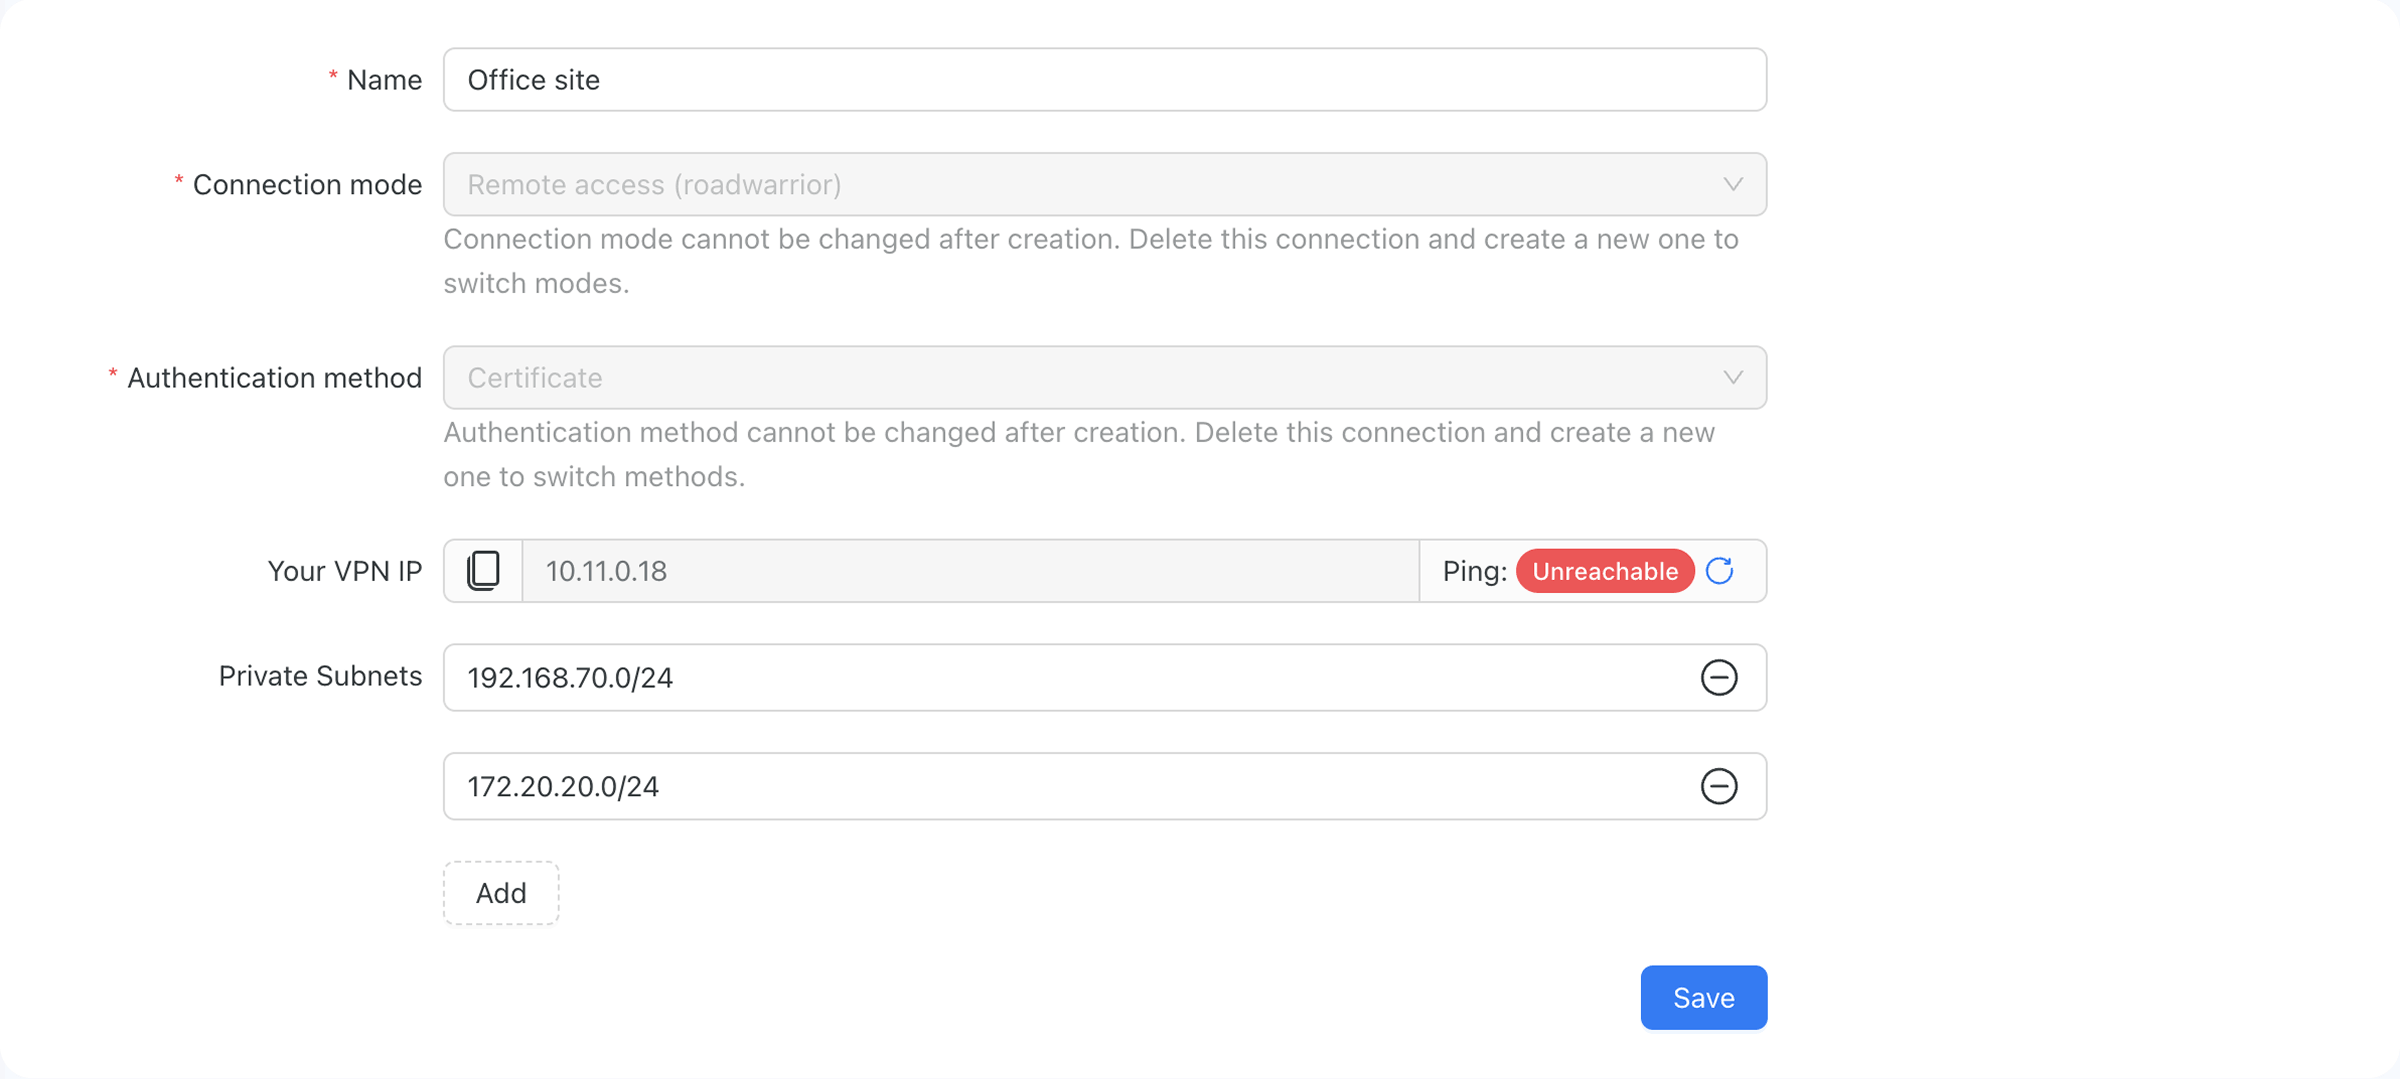
- Verify the tunnel – for remote access connections, Powerlynx shows a ping indicator in the connection’s Edit view.
- Attach your hotspots to the VPN connection – either as a dedicated tunnel or via an existing shared tunnel.
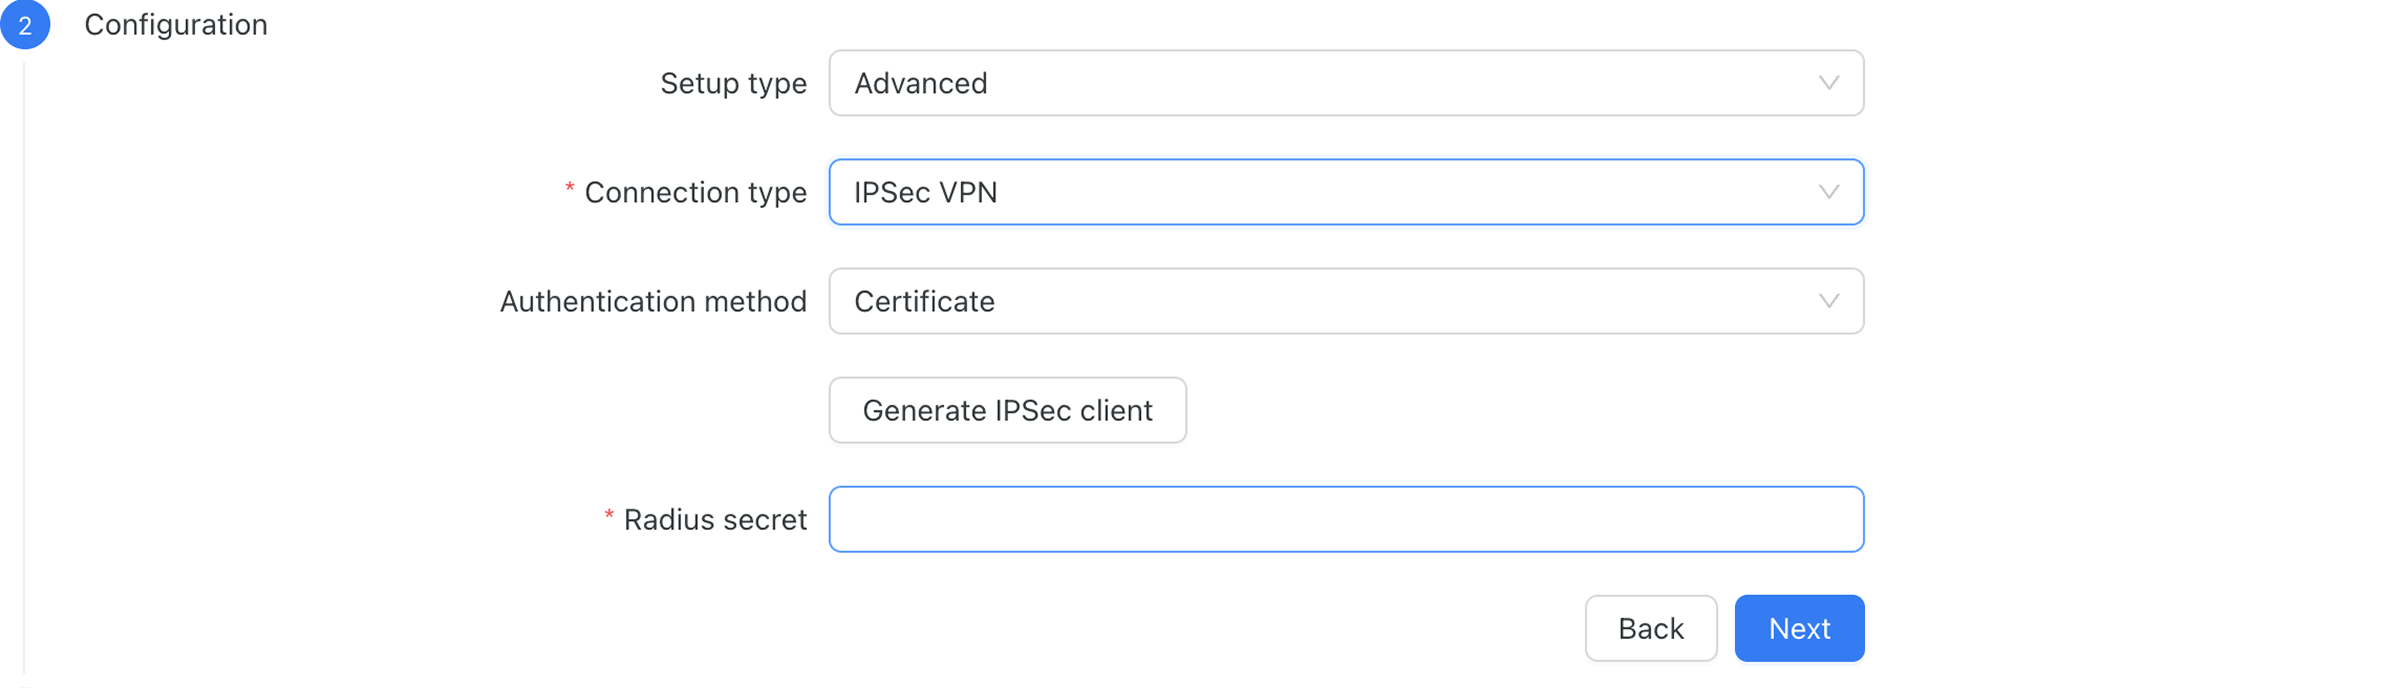
Private subnets can be added or modified at any time after setup.
For the full step-by-step walkthrough, see the IPSec VPN integration guide in the Powerlynx documentation.
IPSec VPN is included in your Powerlynx plan. Start your 21-day free trial with no credit card required, or check the pricing page for full plan details.